Bracketing your first patient can be nerve-racking. But don't worry, follow these steps for a stress-free appointment. Your patient will be happily showing off their new braces soon!
Before your patient arrives
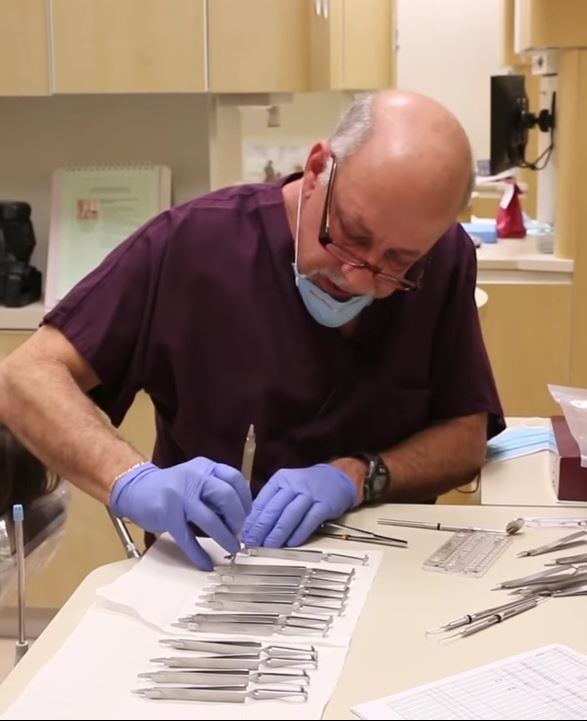
1. Prepare your workstation
You or your staff should prepare ahead of time to ensure a smooth appointment. We recommend to:
- Lay out the proper adhesive material for what you are about to do:
- Ceramic Brackets: Transbond XT Light Cure
- Metal Brackets: Transbond XT Light Cure
- Bands: Transbond Plus Light Cure
- Put out your brackets (and double check them prior). A couple days before your appointment, compare the bracket card you received to your Appliance Design summary to ensure that you have the right brackets.
- Lay out your bracket positioning instruments. Pro tip: Place your brackets on their specified positioner and lay them out in the sequence that you'll bond them. This way your assistant can quickly hand them to you when you need it. (While you can start this with a 6-instrument bracket delivery set, you can only arrange this pro tip fully with a larger set of tools, like with the 48-instrument bracket positioning system.)
- Place a printed copy of the Appliance Summary tab in your workstation tray. This includes the bracket positioning details for you to follow so you will place the proper bracket on the proper tooth at exactly the right height.
2. Read and follow directions
This may seem obvious, but failure to follow directions is the most common reason for bracketing failure. So please make sure to read the directions of your adhesive and materials packages (or a least have a staff member do this).
3. Relax and keep moving
Having a positive composure will help your appointment go smoothly (no patient likes seeing a doctor sweat). Luckily, initial bonding sessions don’t need to be high-stress since it does not need to be perfect. Remember, if you make an error, the brackets can easily be repositioned at a later appointment. Oftentimes, repositioning does not lengthen the duration or affect your case. See a tiny placement error? You can choose to keep moving and fix it next time.
4. Prep your team
Having a team that is sufficiently trained in orthodontic techniques will allow your bracketing appointments to run as smoothly as possible. Have a quick meeting before your appointment so everyone is ready to go when the patient walks in.
During the appointment
5. Prepare the teeth well
To ensure the surface of the teeth are prepared for bonding, clean and remove all traces of plaque or debris. Make sure you are using a fluoride-free pumice. Etch the facial surface of the teeth for 30-45 seconds. After rinsing and drying the teeth, apply a very thin coat of sealant.
6. Keep the surface of the teeth dry
A dry, contamination-free environment is key to success. Any amount of saliva will compromise the strength of the bond and can increase the risk of bracket failure.
7. Don’t be fussy
After you add the adhesive to the bracket pad, immediately place the bracket on the tooth. Try not to fuss with it too much while you place it, as the adhesive may start to cure while you do. You’ll want to place the bracket on the center of the tooth at the proper height, using the Bracket Delivery set.
8. Cure correctly
Light cure for the amount of time that the manufacture recommends. Be sure to hold the unit as close to the bracket as possible without actually touching it, and ensure the light is reaching the adhesive.
Bonus tip:
Worried that your first bracketing appointment may last too long? Schedule your patient to come in twice (one appointment for the upper bonding and one for the lower arch bonding). If you bond through the first appointment faster than expected, great! You can be a hero and tell your patient that they’re doing well and that you can finish it all in just one appointment. Or if you are not as speedy as hoped, then you have some leeway in this smart schedule trick. This could be a nice option for your schedule and may be less stressful for everyone.
Now, enjoy your first orthodontic session!
Want more help? Give us a call or refresh your training with the Seminar 3 online study materials.
